- Step 1: Set Up Your Coach Profile
- Step 2: Add Your Social Media Links
- Step 3: Add or Create a Wheel of Life
- Step 4: Tell About Yourself
- Step 5: Include Your Credentials
- Step 6: Highlight Your Additional Information
- Step 7: Add Your Clients’ Reviews
- Step 8: Add FAQs
- Step 9: Change Labels
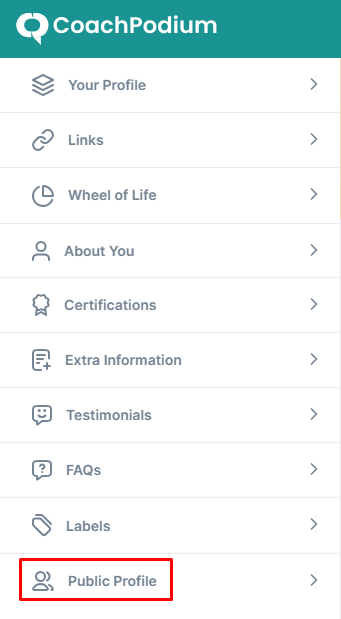
- Step 10: Show/Hide Your Public Profile
- Step 11: Preview Your Public Profile
- Things You Should Know
You can create a personalized and publicly accessible coach profile to showcase your coaching services. You can show your expertise, experience, and coaching services all in one place.
Here’s the step-by-step guide to create your coach profile.
For this, you first need to:
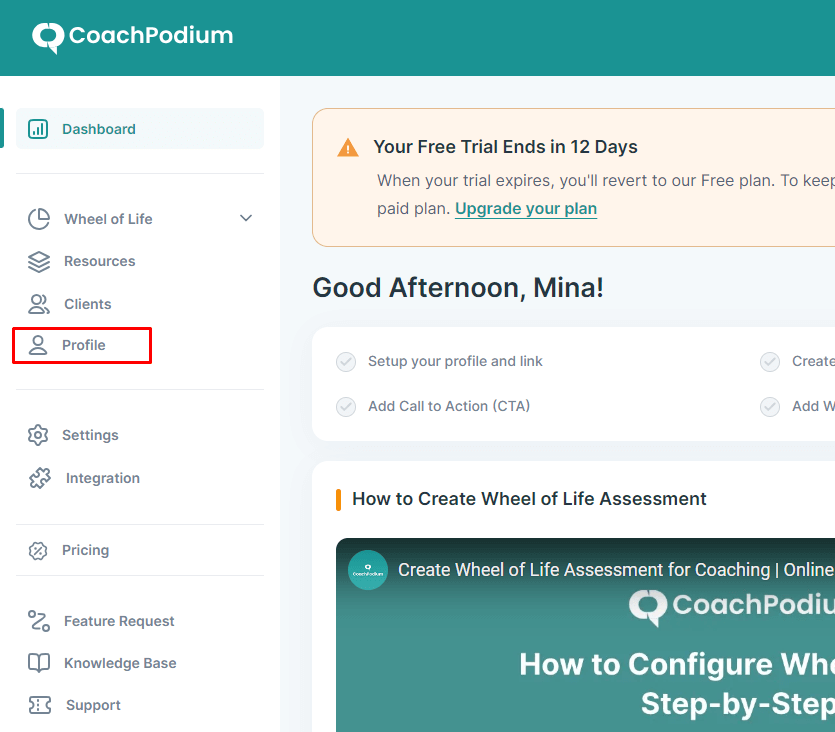
- Login to your CoachPodium account and navigate to the dashboard.
- Click the Profile option on the left side of the dashboard. Then, you will be redirected to the coach profile dashboard on the same tab.
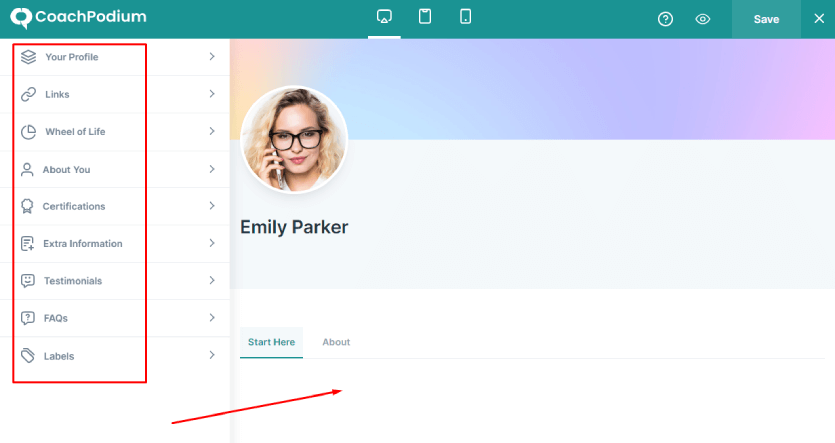
- From the Coach Profile Dashboard, you can create your coach profile on the left side of your screen and see a live preview of it on the right.
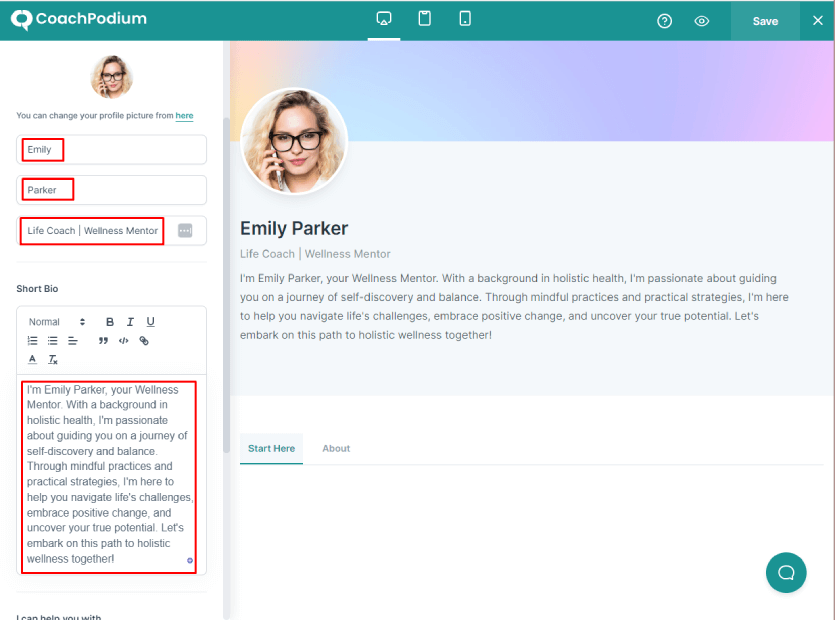
Step 1: Set Up Your Coach Profile #
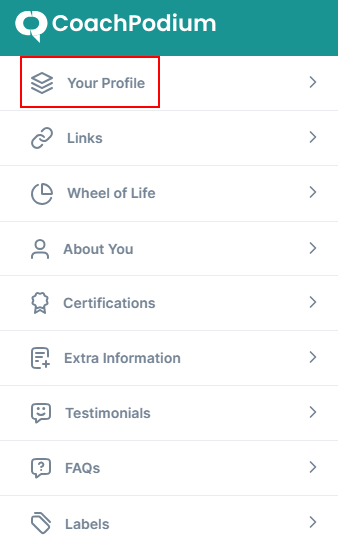
Goto Your Profile menu on the left side of the screen. Here, you can add your general introduction.
Add Your Profile and Cover Photo #
Profile Picture: Your profile picture is automatically set to the one you’ve added in your CoachPodium account. To update it, simply click on the provided link.
Cover Image: Click on Click to upload a cover image for your coach profile.
- The recommended size of the cover photo is 1920×325, and the max file size limit is 1 MB.
- Clear the image by clicking the Clear tab if you need to change the image.
- Also, to delete the image you uploaded, click Remove.
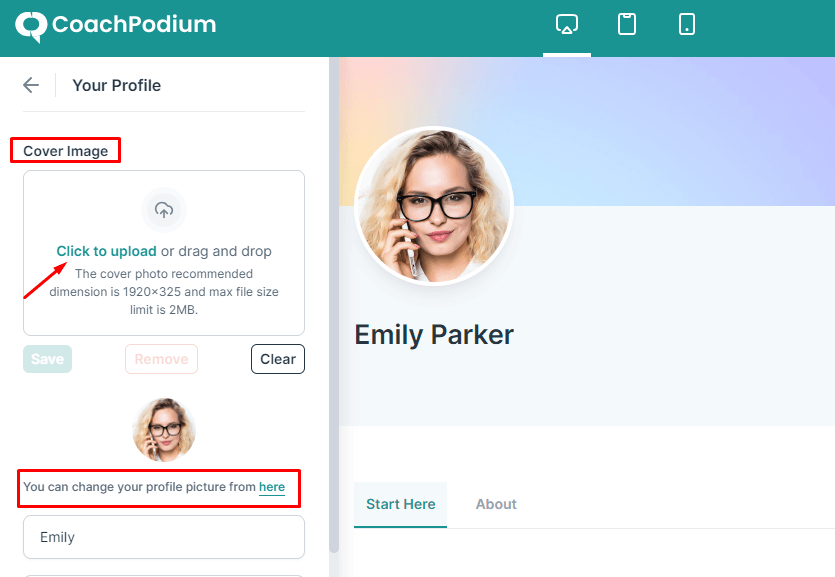
And, if you are happy with the cover image you uploaded, click Save.
Fill Out Your Basic Information #
Name and Profession: Write your first name, last name, and professional title on the text input field.
Short Bio: Write a short bio to introduce yourself and your expertise in the box.
I can help you with: Include the areas of the exact services you will provide to your prospects. For example, you may write “Relationship Consultation.” You can simply click on the Add button to include as many services as you want.
Years of Experience: Input a number indicating your experience in the coaching profession.
Language: Add the languages that you speak or provide services in. You can simply click on the Add button to include as many languages as you want.
Location: Provide the address of your office or the place where your prospects can find you.
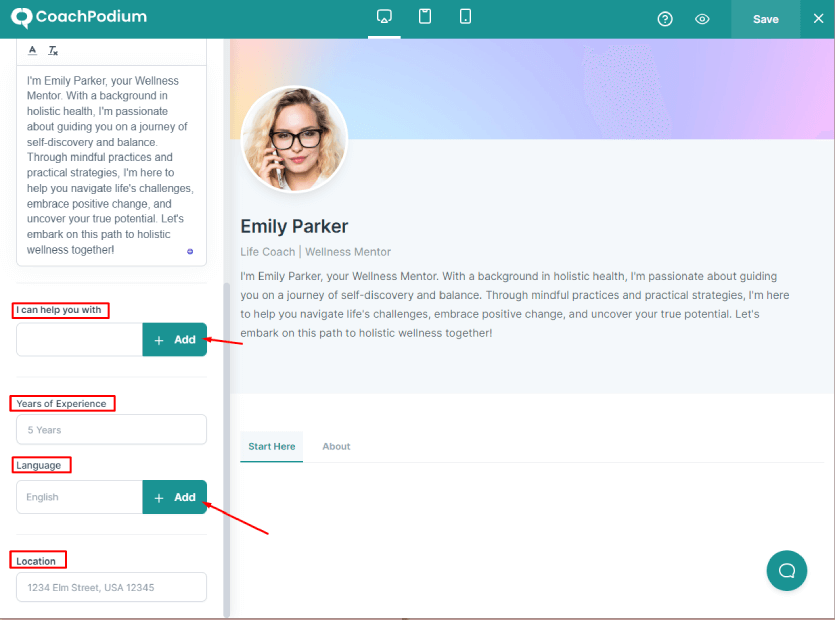
You can see all the above information on the right side of the screen as soon as you add them.
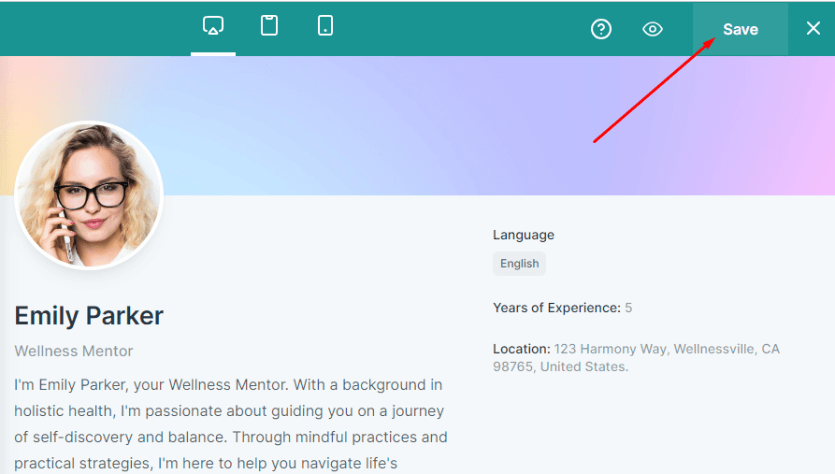
If you are satisfied with the information you have added, you can save it by clicking the Save button in the top right corner of the screen.
Now, click on Back icon to add other information.
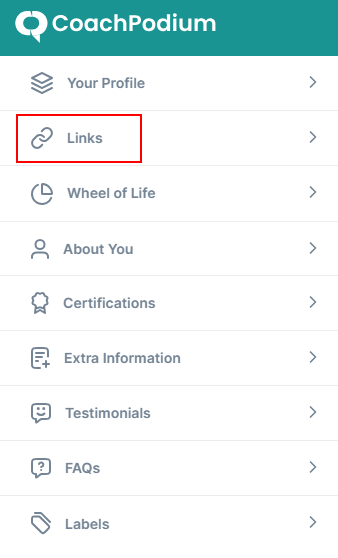
Step 2: Add Your Social Media Links #
Goto Links menu to add your social media and website links.
In this option, you can add a link to your website and different social media platforms. Currently, you can link Facebook, Instagram, LinkedIn, Twitter, Pinterest, Tiktok, and YouTube in your coach profile.
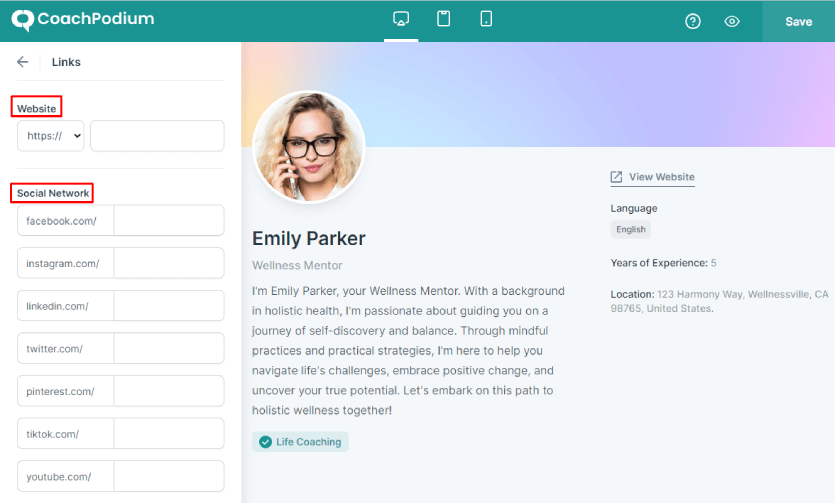
Click Save to save your settings.
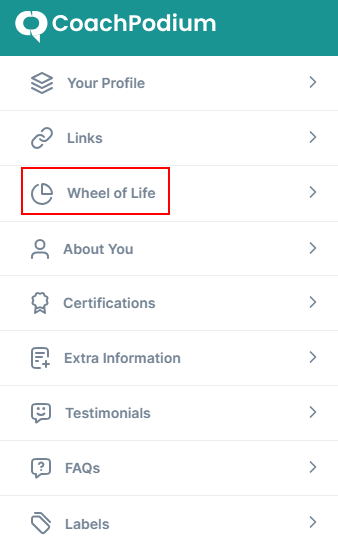
Step 3: Add or Create a Wheel of Life #
- Go to the Wheel of Life menu.
- By default, all of your previously created Wheel of Life assessments will be visible to your visitors here.
- If you want to hide any assessment, you can toggle off the option.
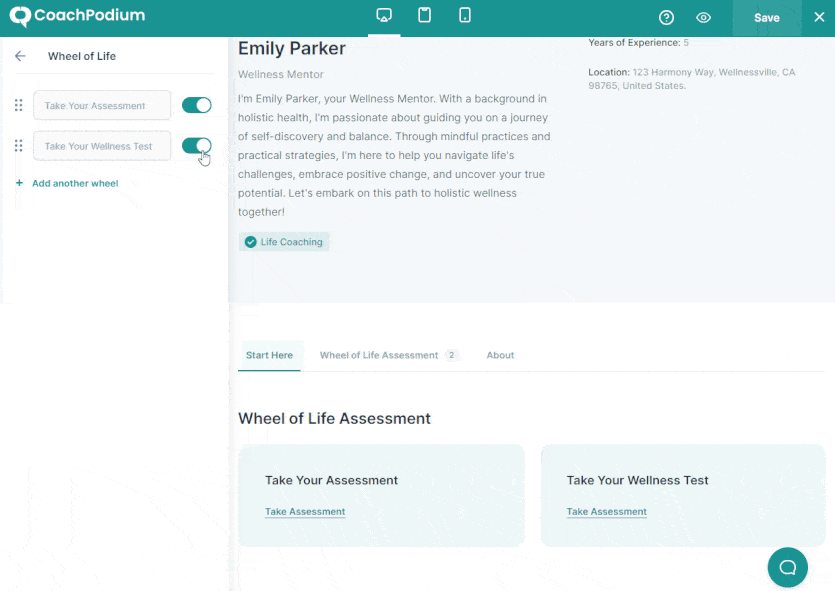
- Click Save to save your progress.
Note: You can create a new wheel by clicking the Add Another Wheel button. To know more about how to create a wheel, you can follow the documentation on How to Create a Wheel.
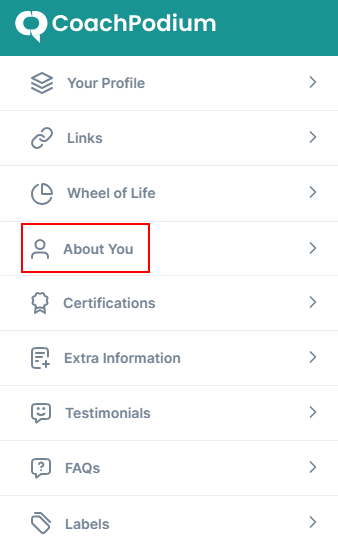
Step 4: Tell About Yourself #
This section plays a crucial part in introducing you among your prospects. Hence, you can write about yourself, your values, services, and any other description that resonates with your coaching service.
- Goto About You menu.
- Write a title/label for your description under the Label option. Your label can be words or phrases like About, Know Me, About Me, etc.
- Write a detailed description about you, your experience as a coach, and everything else you want your clients to know.
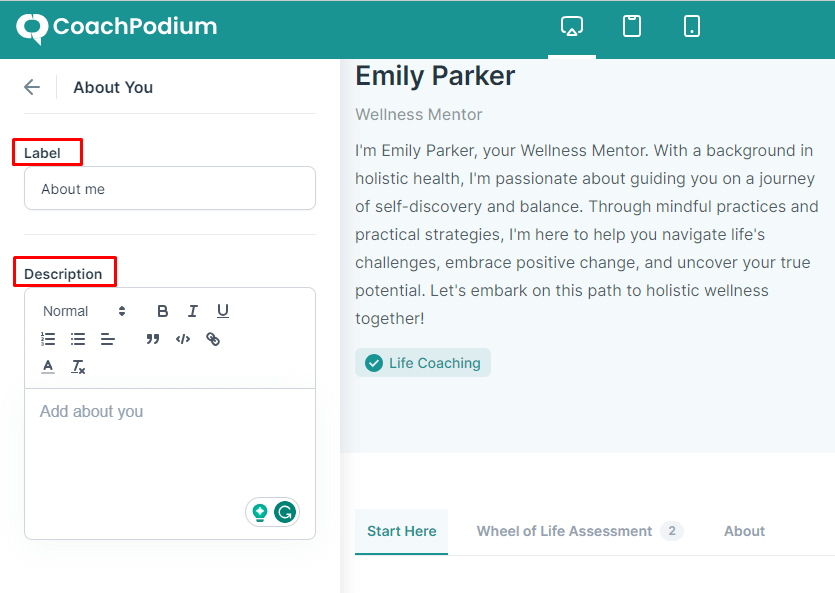
Click Save on the right side of your screen and go back to the menu page for further updates.
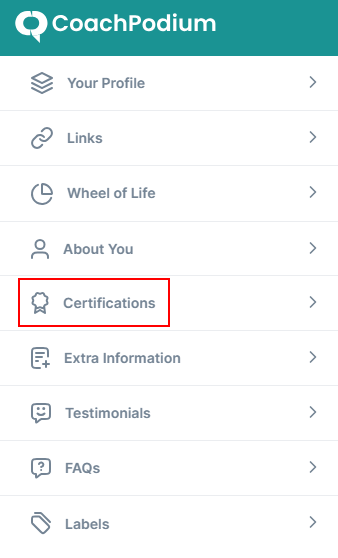
Step 5: Include Your Credentials #
First, goto the Certifications menu.
In this section, you can upload your certificates by clicking on the Click to upload option. These certificates will display as photos on your profile. Please note that the maximum size of the photos should be 2MB.
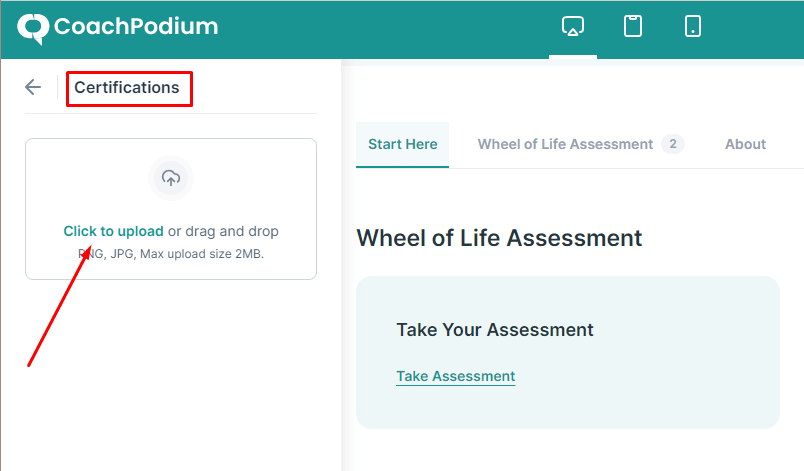
You can add as many certificates you want by repeating the process.
Now, click Save and go back to the menu page.
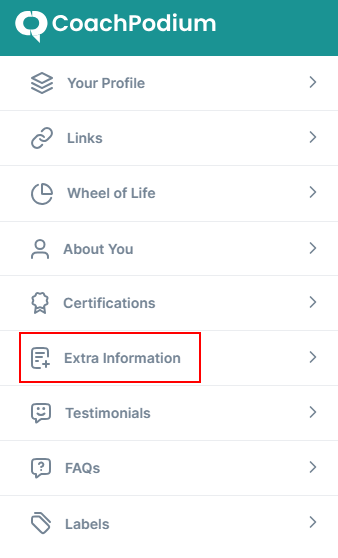
Step 6: Highlight Your Additional Information #
This section allows you to include your additional services. These services may be one-to-one coaching, online consultation, group consultation, etc.
Follow these steps and highlight your coaching services:
- Goto Extra Information menu.
- Click Add New to make a list of the services you provide to your prospects.
- Now, write the title of the service in the text input field at the top and description of the service on the bottom text input field.
- Click Add New to add more additional services.
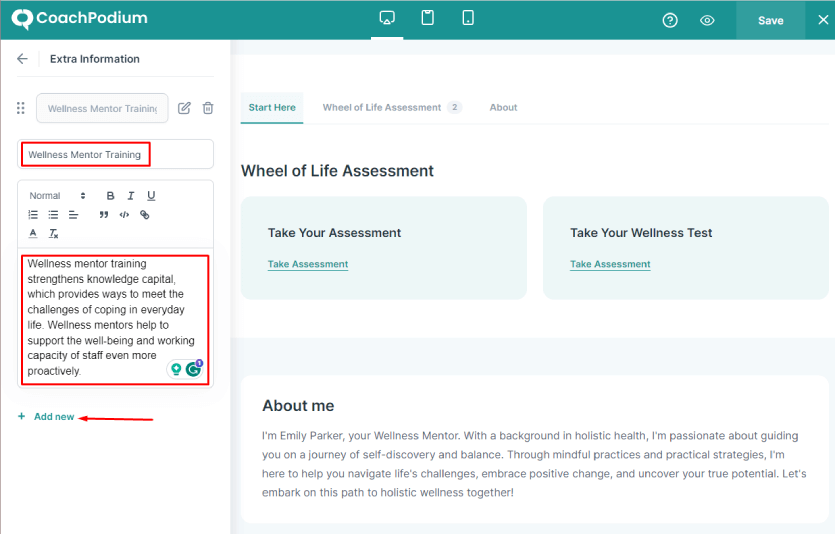
- Now, click Save and go back to the menu page.
Step 7: Add Your Clients’ Reviews #
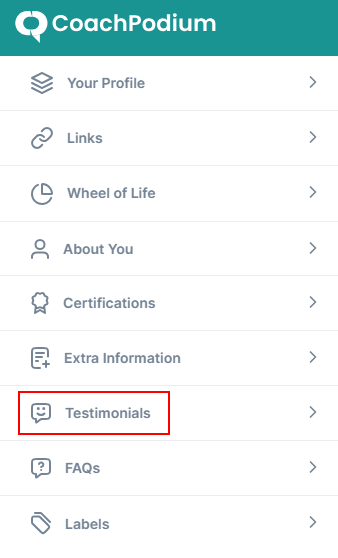
- Goto Testimonials menu.
- Click Add a testimonial option to include reviews from your clients on your profile.
- Upload the image of the client whose testimonial you want to include.
- Add the name, designation, and the exact review content in the given text input field.
- Drag the pointer to specify the rating on the Rating option.

- Click Save Changes.
- You can add more reviews by clicking on the Add a testimonial option again.
Additionally, you can choose the layout of your testimonial section. Choose One to display the reviews in a single column and Two to display in two columns.
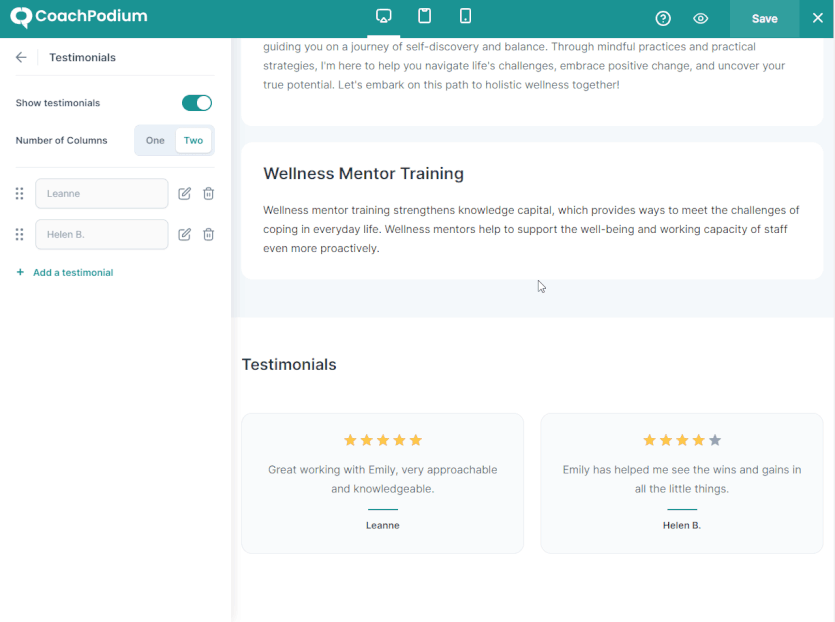
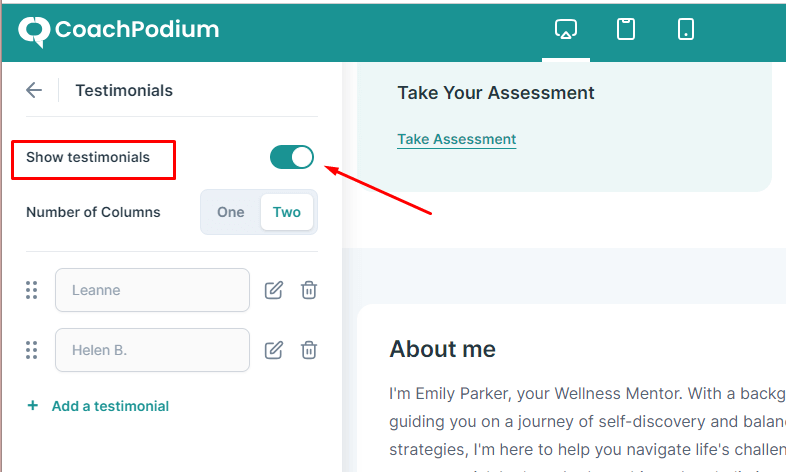
Note: You can also hide the client testimonials by toggling off the Show Testimonials option.
Go back to the menu page for further update.
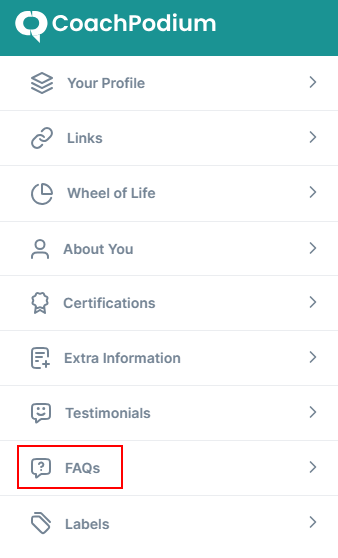
Step 8: Add FAQs #
Your prospects will find the FAQs on your profile’s page. Clicking on this button will lead your prospects to the question and answers they are most curious about.
Follow these steps to add the frequently asked questions:
- Goto FAQs menu.
- Click Add New to add FAQs.
- Write a title of your FAQ. The title can either be a question or simply an expression. For example, you can write “What is a Life Coach?” or “Life Coach Description.”
- Write a Description of the title. This description should answer the query of your prospects.
- Click Save Changes.
- Again, click Add New to add more FAQs.
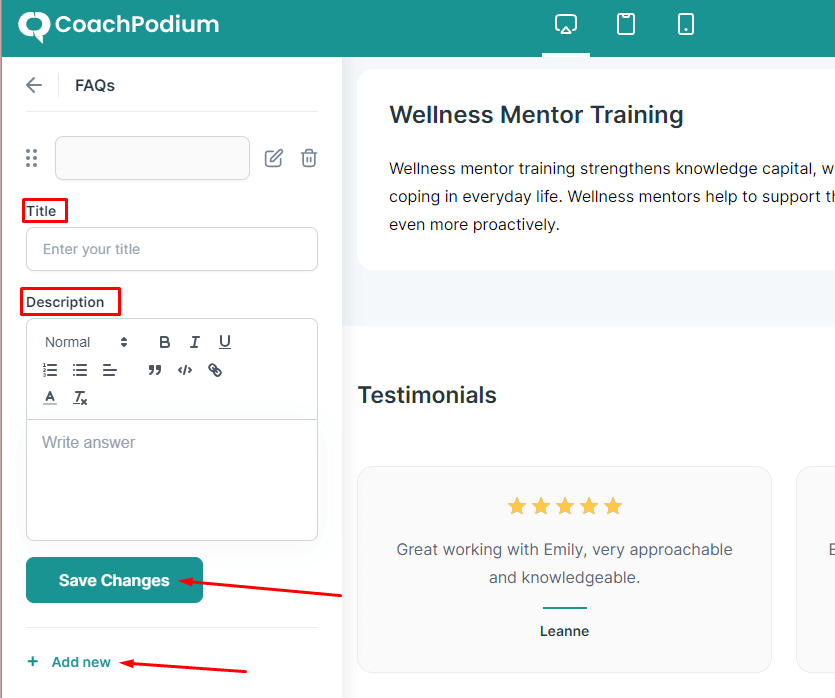
Now, Click Save and go back to menu page.
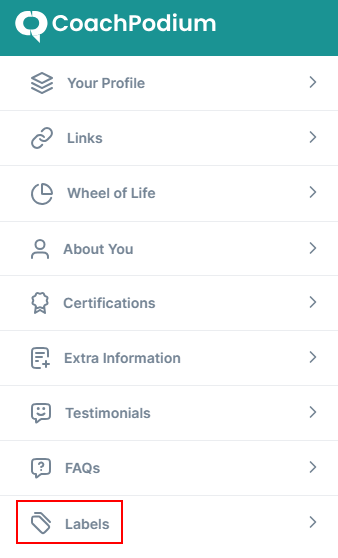
Step 9: Change Labels #
Labels are the names you give to each section of your profile.
To change the labels on your profile, you can go to the Labels menu and then, change the name of each section.
- Start Here: You can use any text to let your prospects know that they can start to know about you from this section. You can name it “Home” or “Start.”
- Wheel of Life Assessment: You can name this section as “Assessments” or “Wheel of Life Test.”
- About: Give a personalized name, such as “About Me,” “Know Me,” or “Know Your Coach.”
- Certifications: You can choose a different name for this section. For example, you can write credentials.
- Testimonials: Name this section as per your preference. For example, the names can be “Client Testimonials” or “Reviews.”
- FAQs: Give a desired name for this section as well. You can use “Frequently Asked Questions” or “Commonly Asked Questions.”
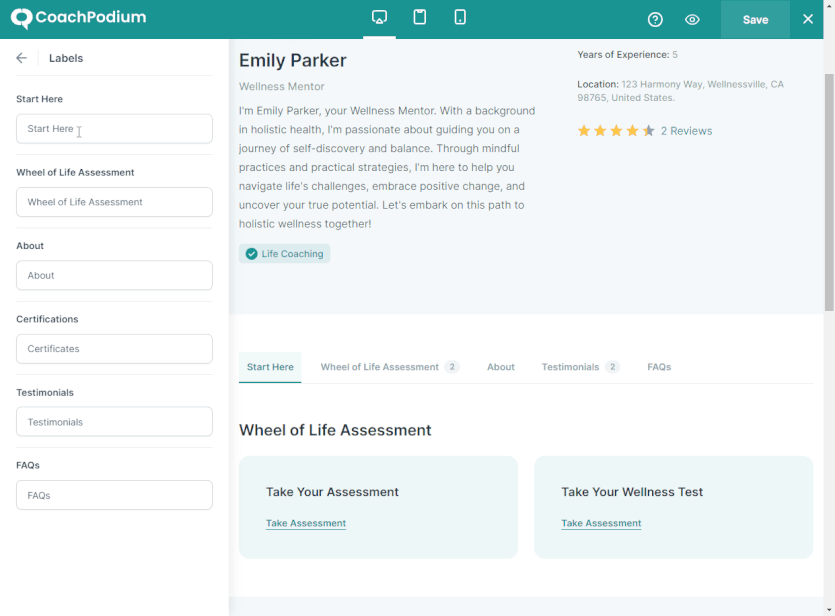
Now, click Save to update your progress.
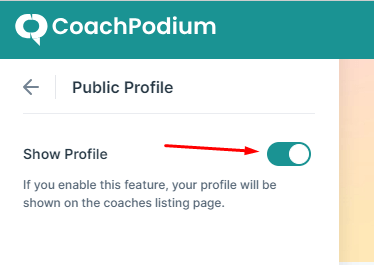
Step 10: Show/Hide Your Public Profile #
You can make your Coach Profile visible/invisible on the coach profile listing page by simply assessing the Public Profile menu.
By default, this option is disabled, so your profile will not be visible on the listing page.
And, if you want your visitors to find you on the listing page, turn on the toggle option.
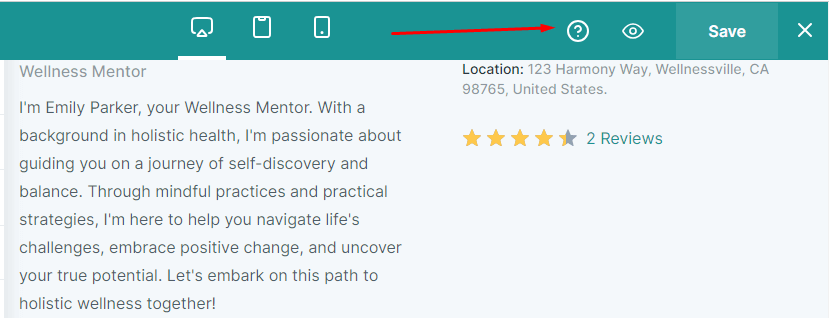
Step 11: Preview Your Public Profile #
You can get a live preview of your profile by clicking on the Preview icon on the top right of your dashboard.
Additionally, to preview the responsive view of the profile you’ve just created, simply click on the desktop icon, tablet icon, and mobile icon located on the top bar.
This will allow you to see how the profile layout adapts and looks on different devices.

Things You Should Know #
- You can directly assess this documentation by clicking the Question Icon on the top right of your profile page.
- Any label you include will appear as jump links on your profile page. When your visitors click a label, they will be directed to that particular section on your profile.
