- Step 1: Accessing CoachPodium Website
- Step 2: Creating the New Email Sequence
- Step 3: Configuring Email Sequence Settings
- Step 4: Create or Edit the Email Sequence
- Step 5: Configure Follow-Up Timing
- Step 6: Change Email Sequence Mailer Settings
- Step 7: Customize Header and Footer
- Step 9: Test the Email Sequence
- Step 10: Enable Email Sequence
- Quick View of Your Email Sequence
- Detailed Analytics and Reporting
You can create an email sequence automation to send emails to your prospects and clients to nurture leads and client retention.
Here’s the step-by-step guide for creating your email sequences.
Step 1: Accessing CoachPodium Website #
- Open a browser and go to the CoachPodium website.
- Enter your credentials and log into your account.
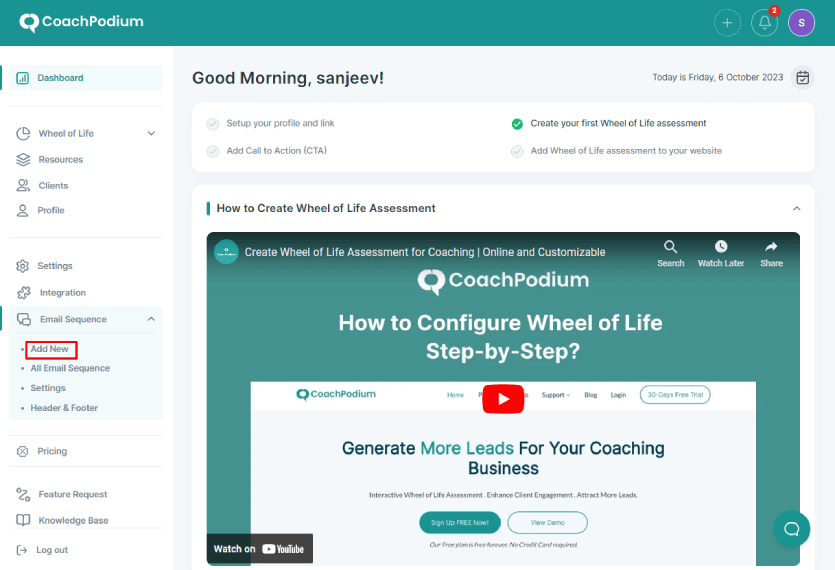
Step 2: Creating the New Email Sequence #
- Click on Email Sequence from the sidebar.

- Click on Add New.
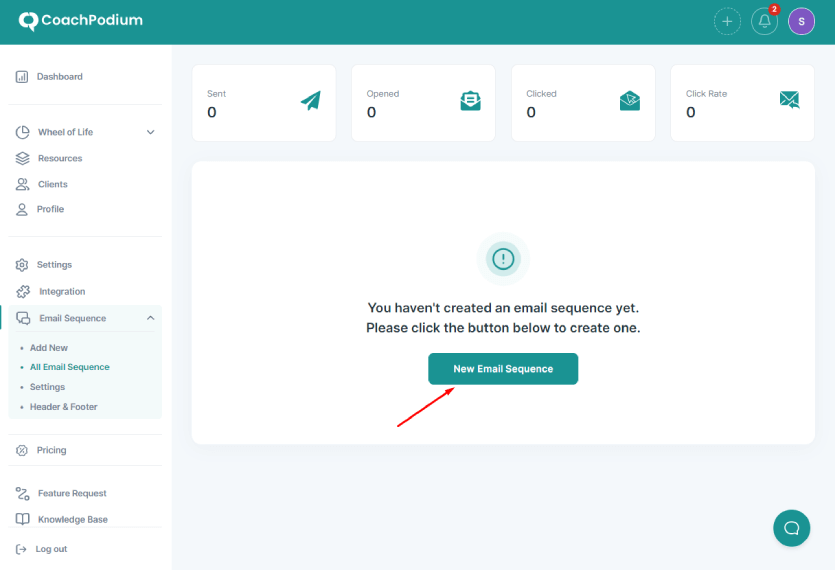
- Click on the New Email Sequence button.
- Give a name for the email sequence.
- Choose an option between Pre-Built Templates and Start from Scratch.
- Click on Create Sequence.
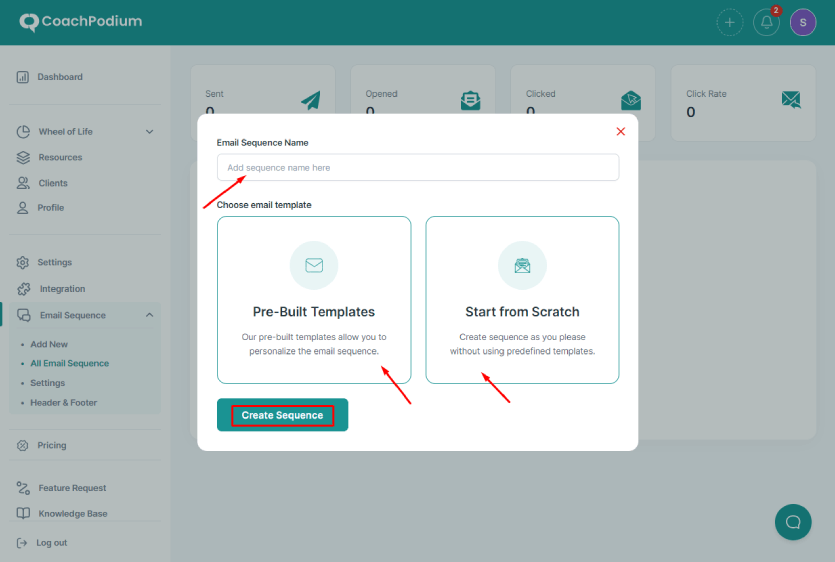
When you choose the Pre-Built Templates option, you can edit already available email templates. But in the ‘Start from Scratch’ option, you have to create an email from the ground up.
Step 3: Configuring Email Sequence Settings #
After creating a new Email Sequence,
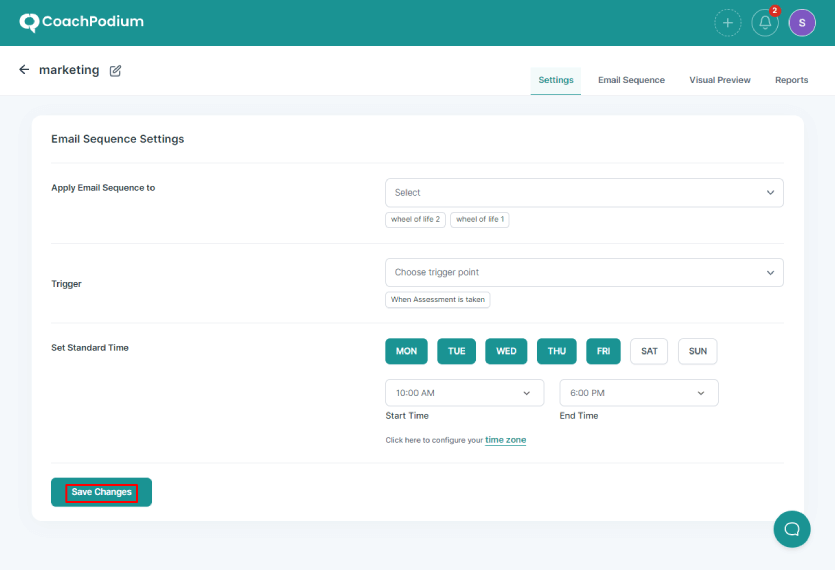
- Under ‘Apply Email Sequence to,’ select your Wheel of Life assessment.
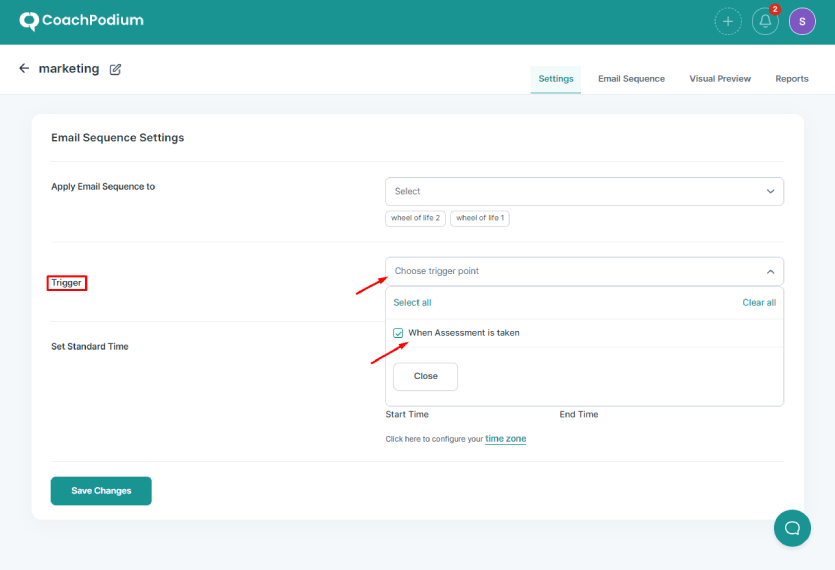
- Next, choose the trigger point. For example, When Assessment is taken option.
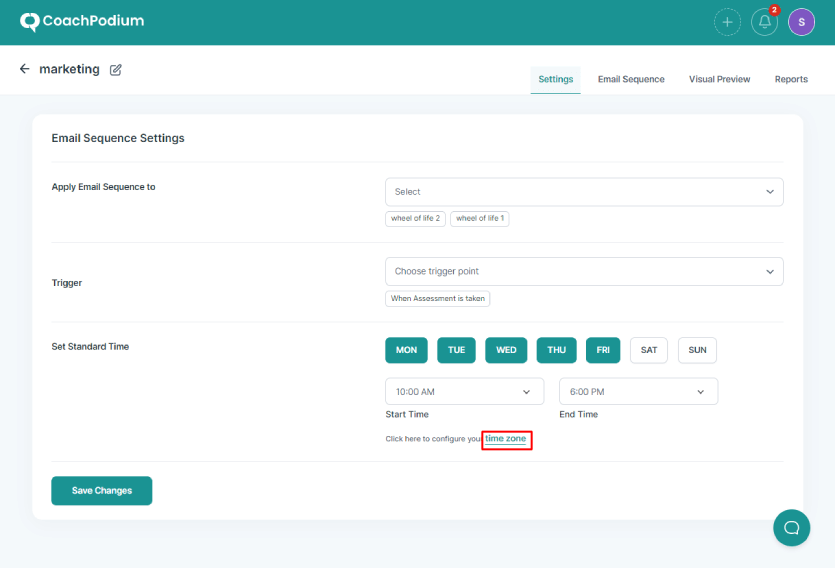
- Select the time range and day to send the email. For example, you can configure to send emails from Monday to Friday from 10 a.m. to 6 p.m.
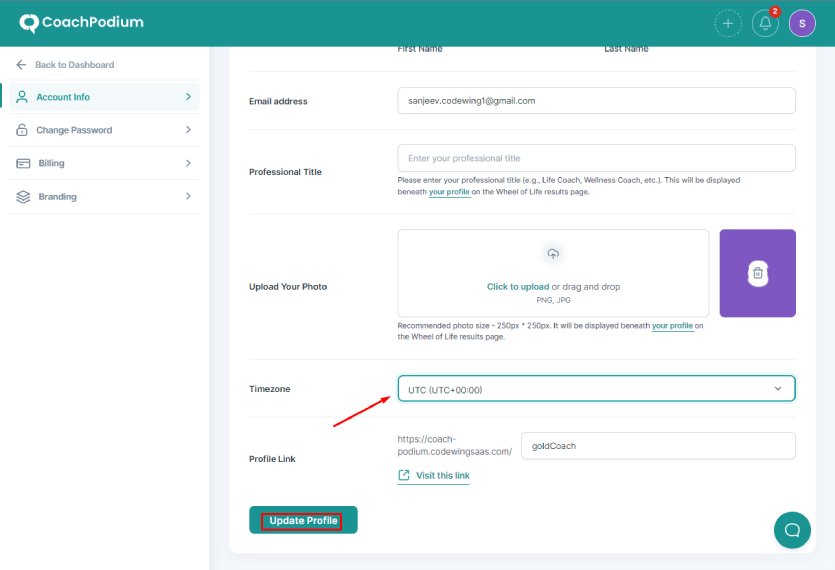
- Configure the time zone to target specific geographics. For this, click on the time zone. You will be redirected to the Account Settings page in the New Tab.
- Change the time zone and click on Update Profile. You can close the Account Settings page.
- Next, remember to save email sequence settings by clicking the ‘Save Changes’ button.
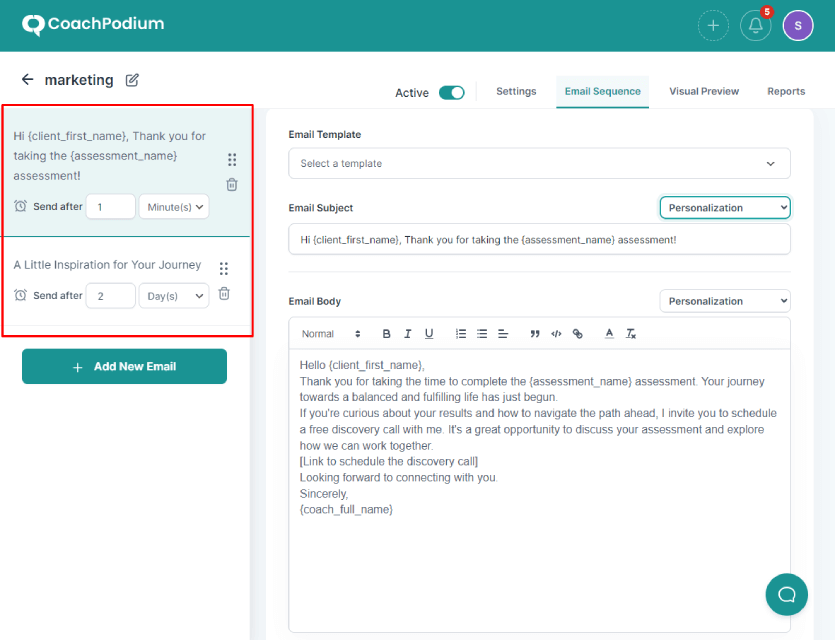
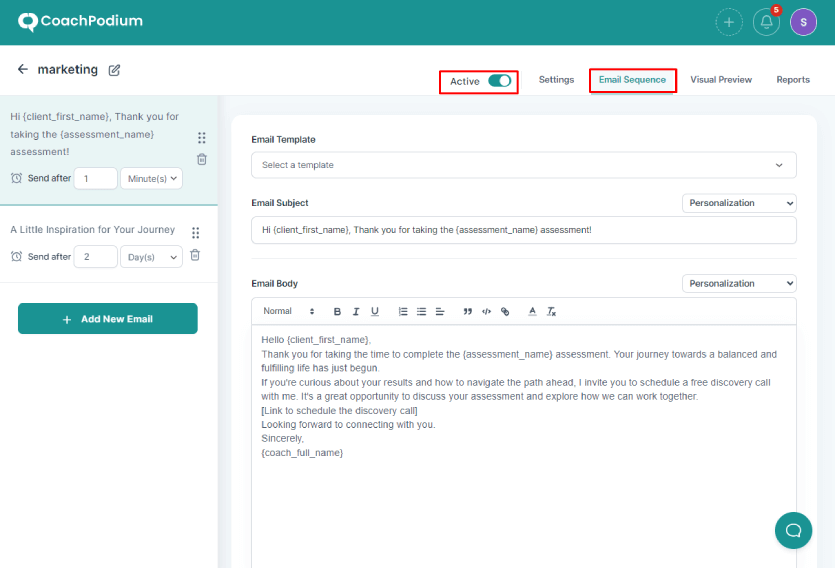
Step 4: Create or Edit the Email Sequence #
- Go to the Email Sequence tab located on the top right bar.
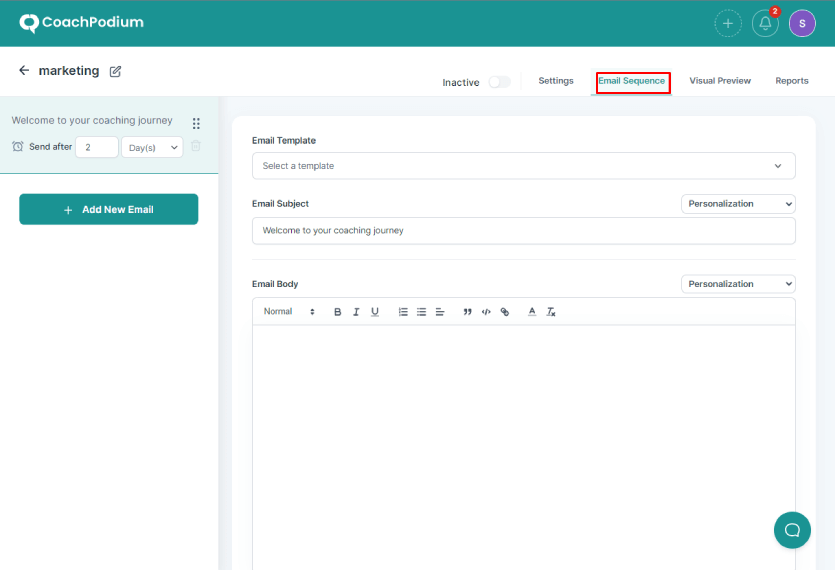
- If you want to use any pre-built template, select one from the Email Template drop-down menu. When you choose the template, the subject line and email contents are loaded instantly.
Otherwise, Leave it if you want to start fresh.
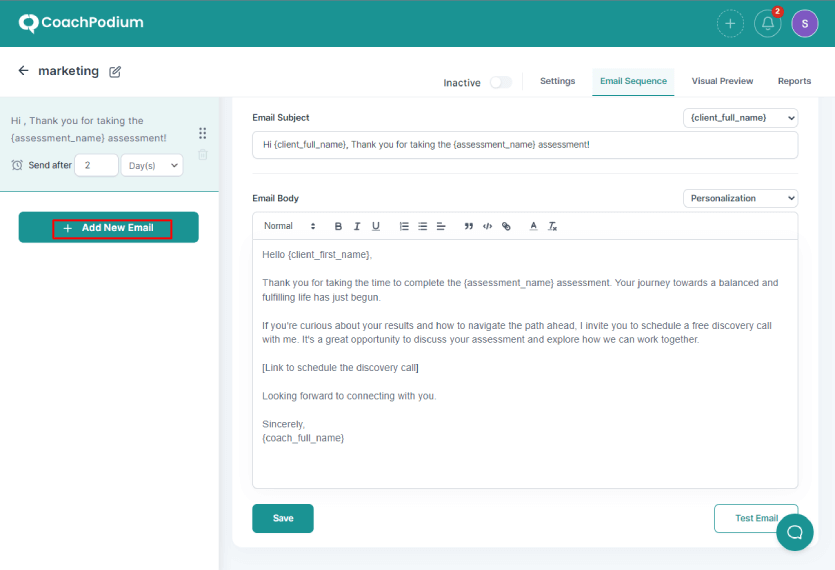
- Write the appropriate subject line in the Email Subject text input box.
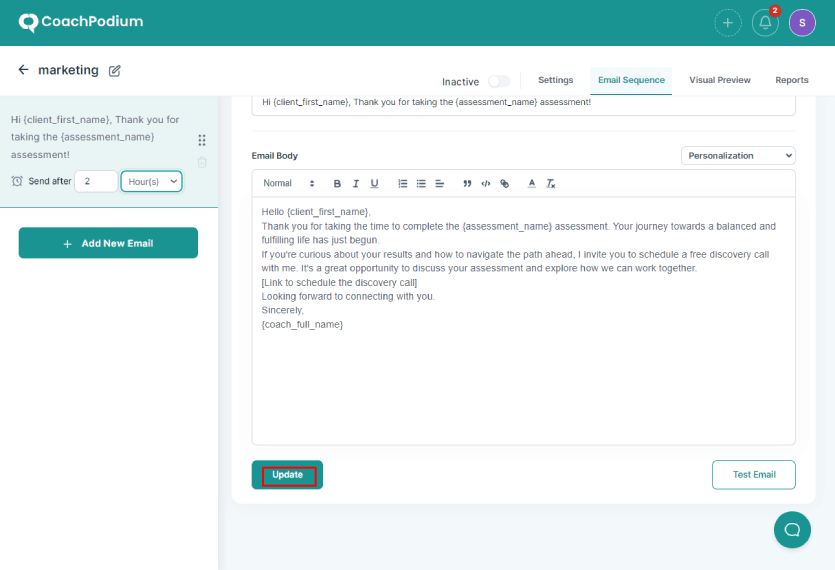
- Go to the Email Body and start writing your content.
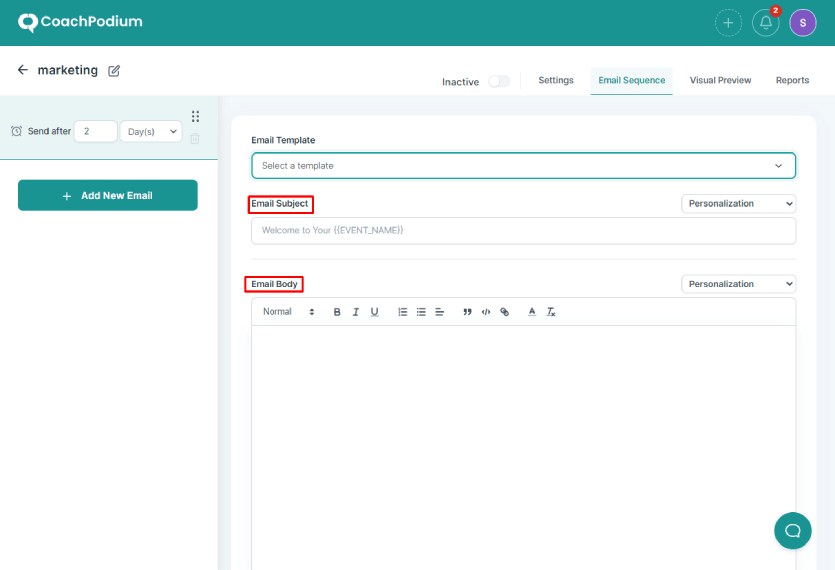
- To personalize your email, click on the area where you want to put the personalization term. Then select the option from the Personalization drop-down menu.
You can choose from different personalization terms such as {client_full_name}, {coach_full_name}, and {assessment_name} to put your client’s full name, your full name and the name of the assessment taken by your prospect in the email, respectively.
- Click the ‘+ Add New Email’ button on the sidebar to add another email.
Like this, you can create multiple emails following the same steps mentioned above in step 4.
Step 5: Configure Follow-Up Timing #
On the sidebar of your screen, you will see several emails in your email sequence.

- Put the time in the number box and select minute(s), hour(s), day(s) and month(s) from the drop-down menu on each email to send it on that interval.
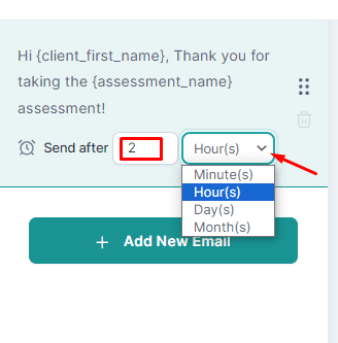
- Click on the Save or Update button to save the changes.
- Do the same for all the emails.
You have created your email sequence. Now, it’s time to change the mailer settings.
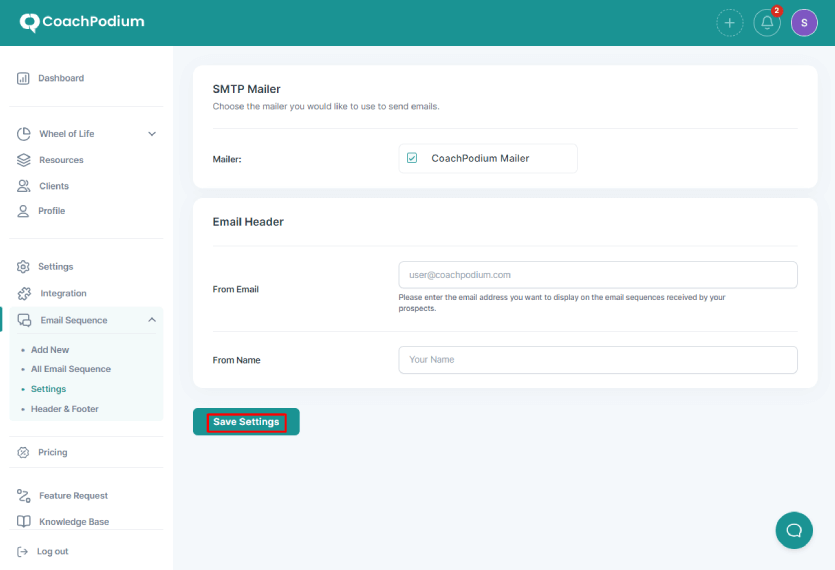
Step 6: Change Email Sequence Mailer Settings #
- Go back to the CoachPodium dashboard.
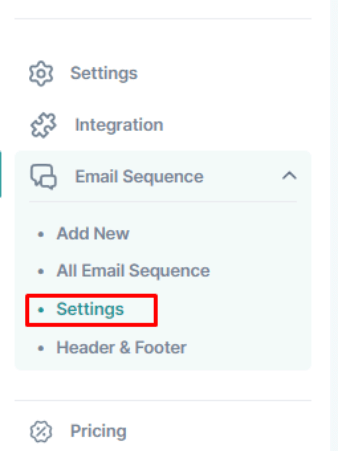
- Select the Email Sequence menu.

- Click on Settings.
- Under the SMTP mailer, CoachPodium Mailer is already selected by default, you don’t have to do anything here.
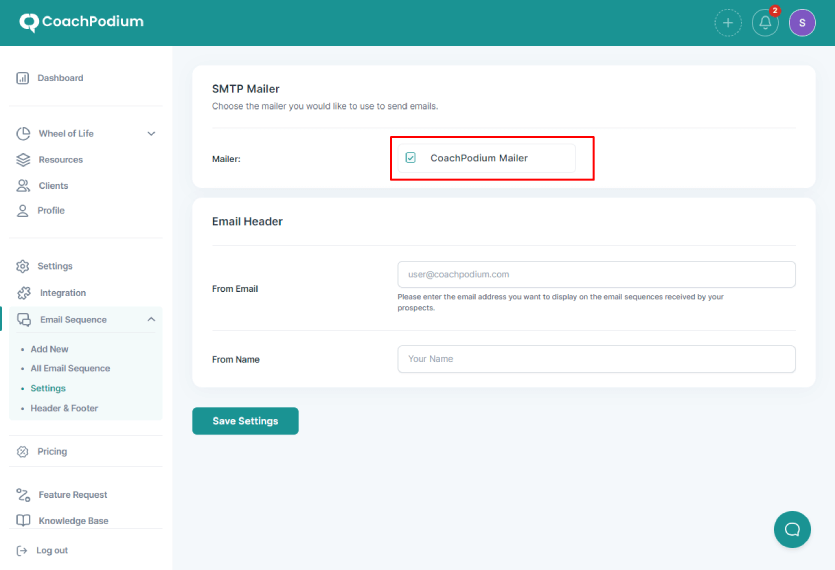
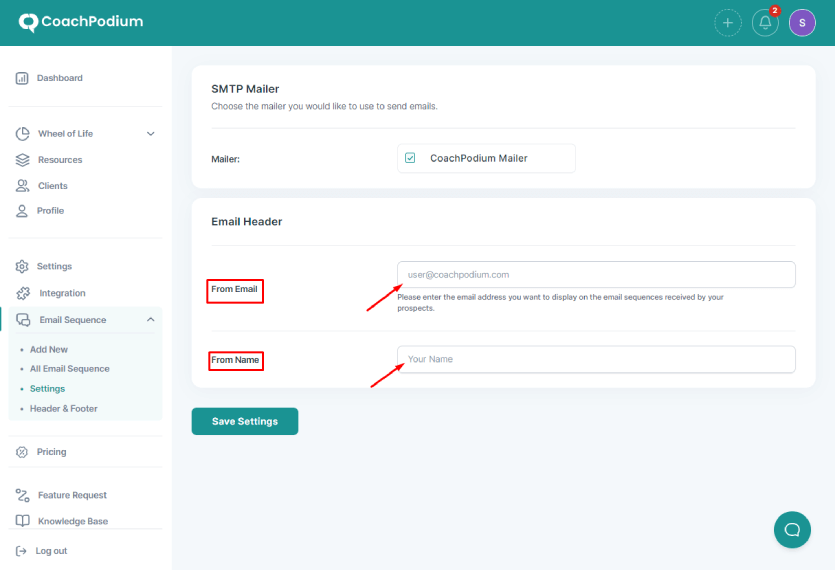
- Then, under the Email Header, enter the email address you want to show in your emails and your name in the From Name field.
Your prospects will see this name and email address on their emails. This gives you the flexibility to use a separate email apart from your default CoachPodium Account email.
- Lastly, click on Save Settings.
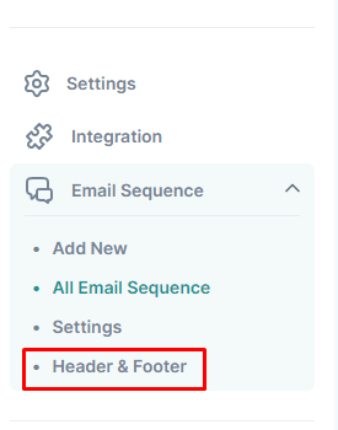
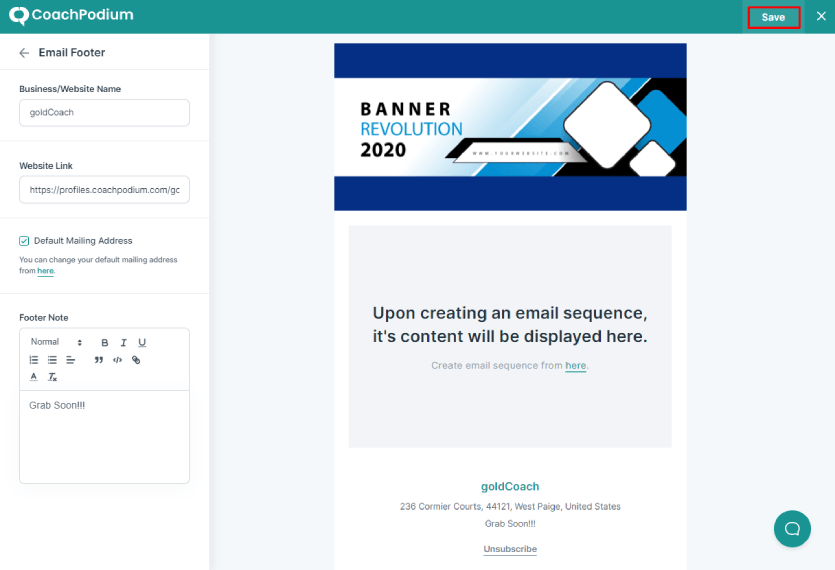
Step 7: Customize Header and Footer #
Under Email Sequence, click on Header & Footer.
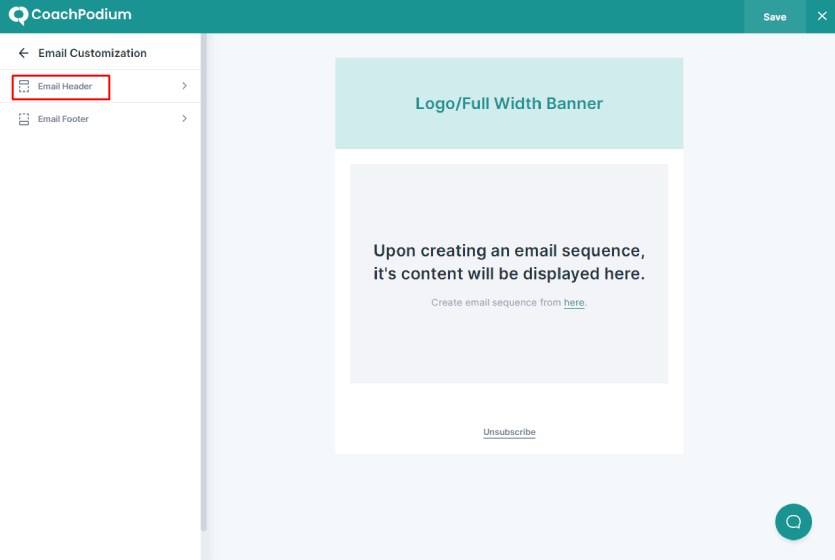
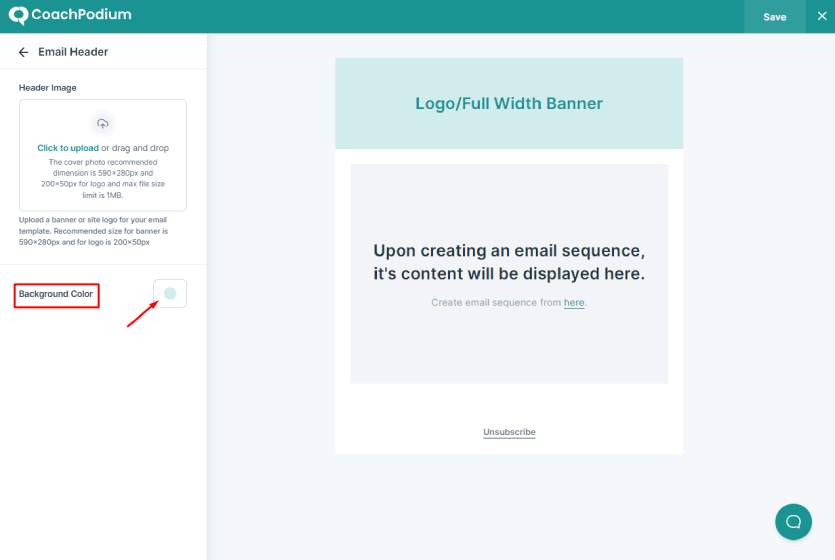
- Click on Email Header.
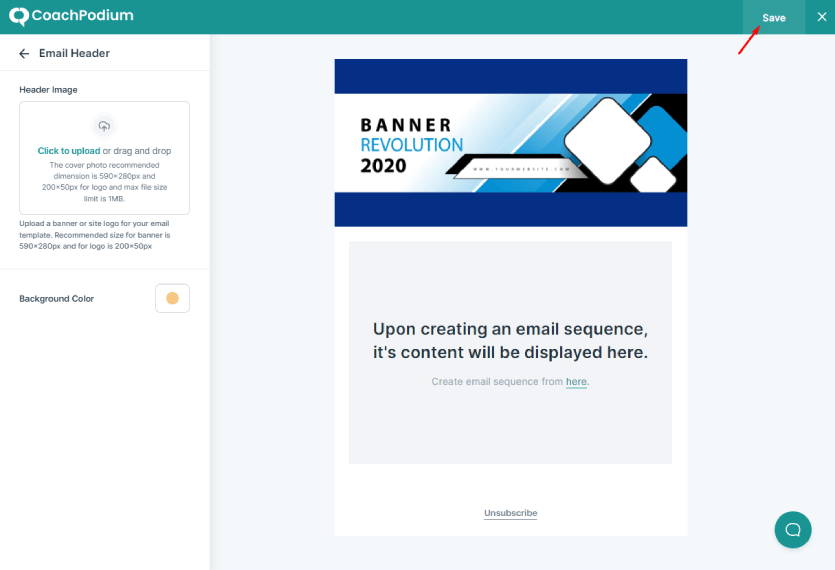
- Upload the image to display in the email header. The recommended size for the banner is 590×280 px and 200×50 px for the logo.
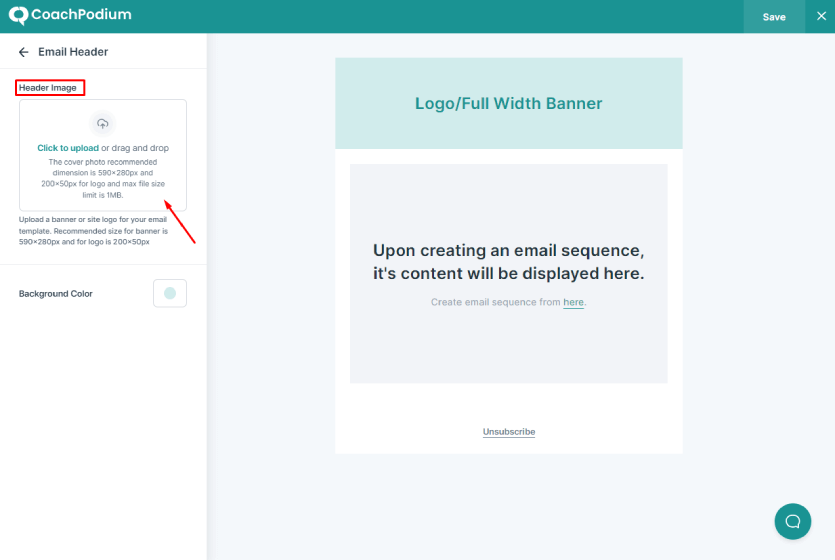
- To change the background color, click on the color and select from the color palette.
- Click on the Save button in the top right corner.
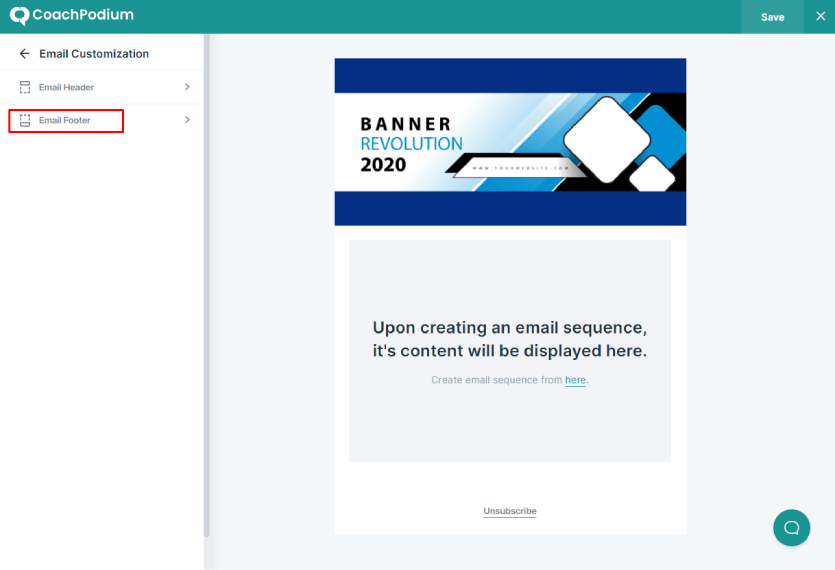
- Click on the back arrow to go to the previous menu.
- Next, click on the Email Footer.
- Provide Business/Website Name and Website Link.
- You can tick the check box of the Default Mailing Address if you want to send your default mailing address. If you uncheck the option, you can provide a custom mailing address in the text box.
- Put some footer notes to be displayed on the email footer by entering content in the Footer Note textbox.
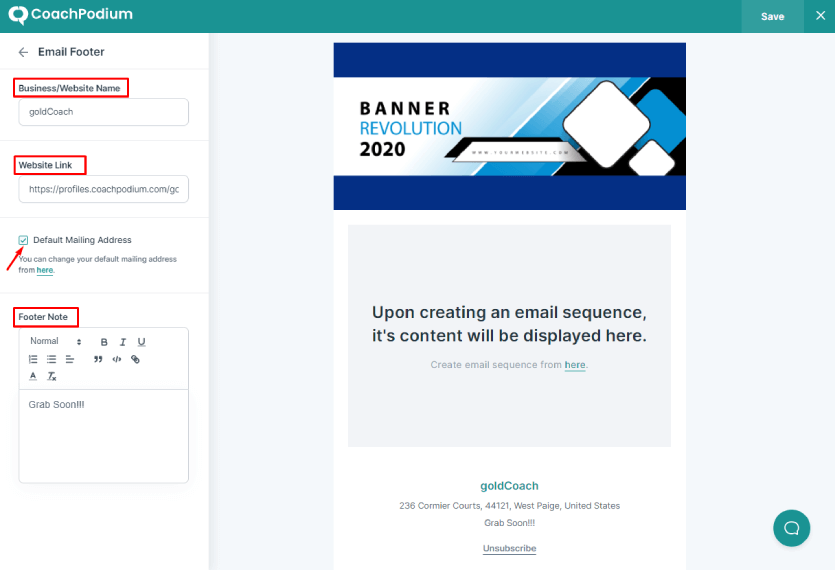
- Remember to click on the Save button.
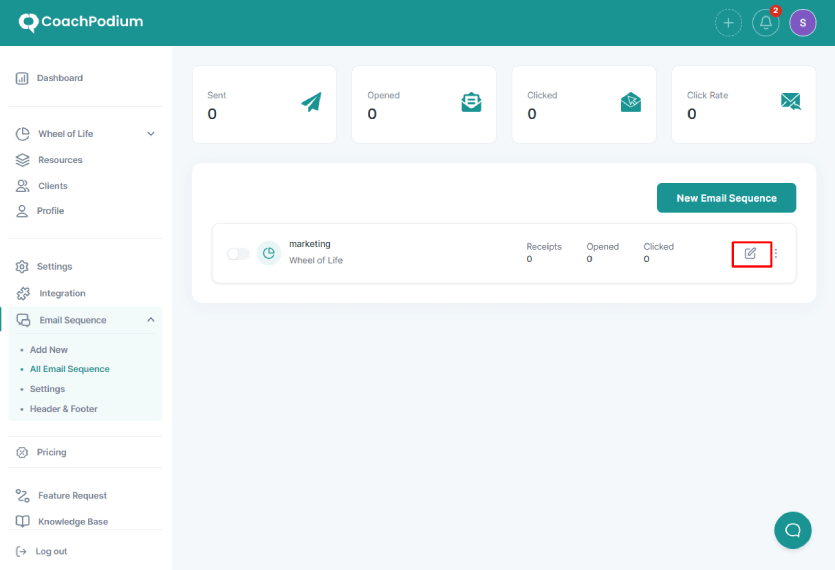
Step 9: Test the Email Sequence #
Finally, test your email sequence to check if everything is good to go.
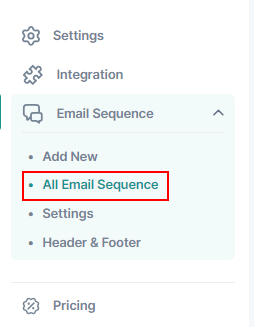
- Go to the CoachPodium dashboard.
- Select the Email Sequence menu.
- Click on All Email Sequence.
- Click on the edit icon of the newly created email sequence.
- Go to the Email Sequence tab.

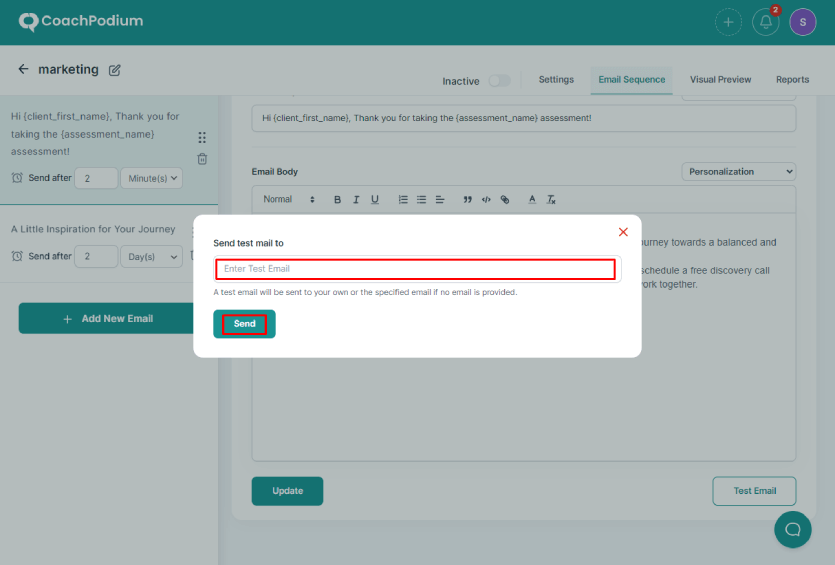
- Click on the email you want to test in the sidebar.
- Click on the Test Email button in the bottom right corner.

- Enter the email address to receive the test mail and click on the Send button.
Step 10: Enable Email Sequence #
You can enable email sequence in two ways.
- Firstly, go to the CoachPodium dashboard and click on All Email Sequence. Then, toggle the button in front of the email sequence lists.
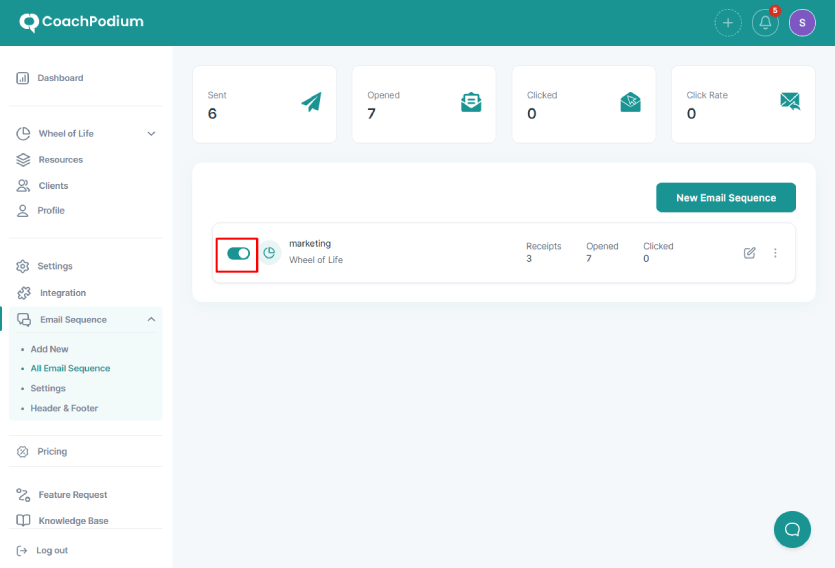
- Or, you can do it by clicking the edit icon, then going to the Email Sequence Tab and toggling the button there.
Now, your email sequence is set up and ready for automation.
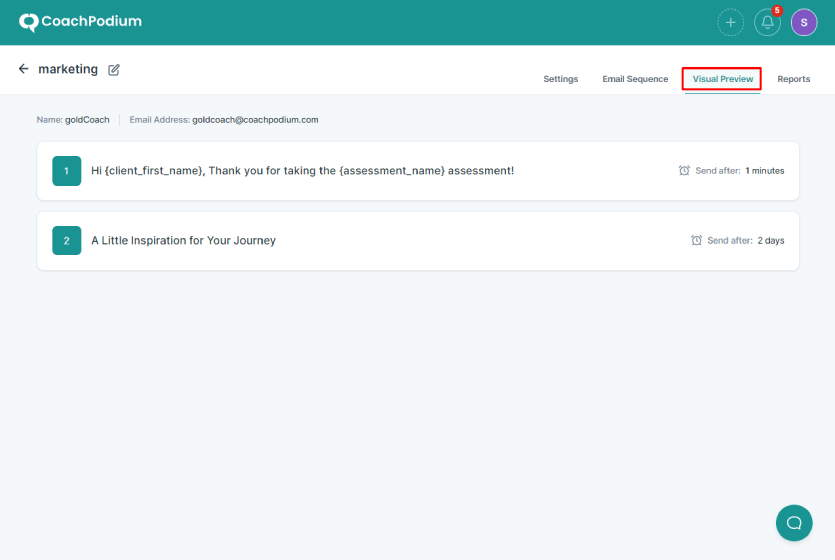
Quick View of Your Email Sequence #
You can get a quick preview of your email sequences from the Visual Preview tab. It shows your name along with your email address.
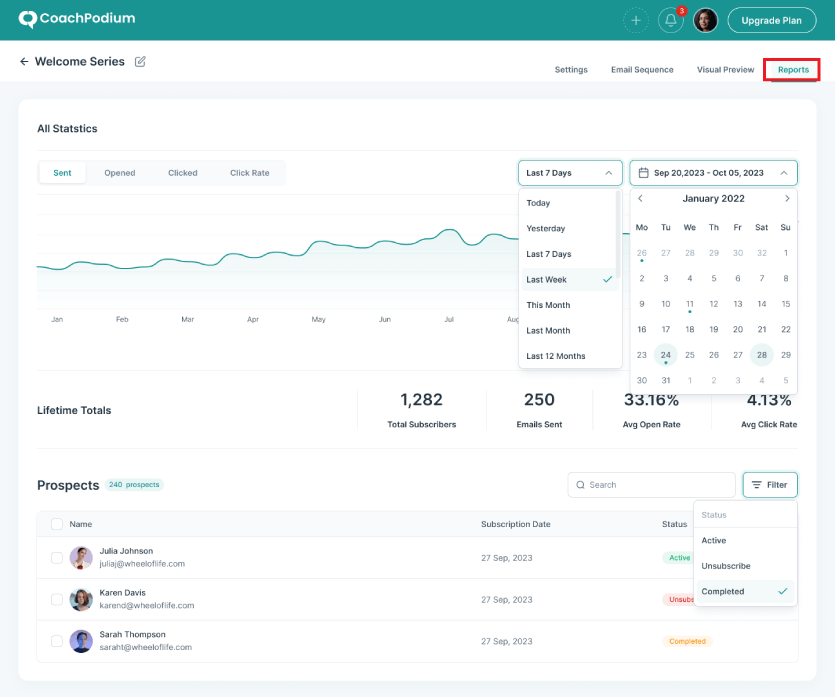
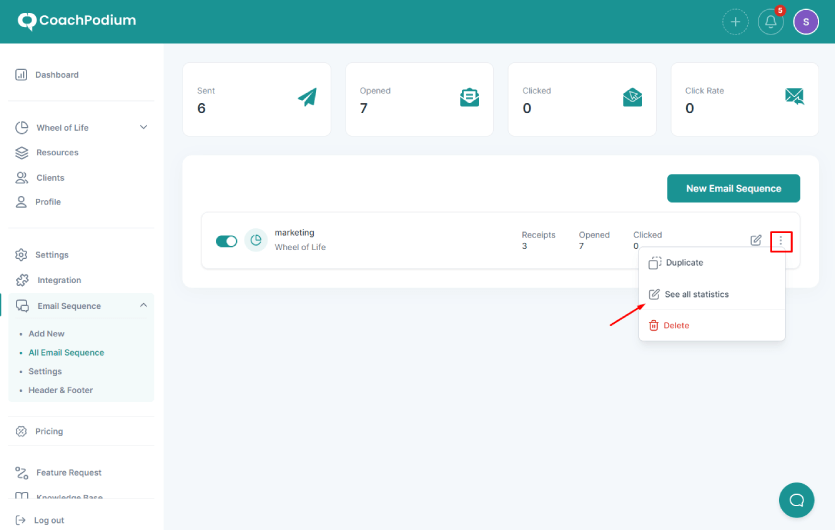
Detailed Analytics and Reporting #
You can view the visual representation of statistics of your email sequences. click on three dots on the email sequence list and click on See all statistics.
Or, Click on the Reports Tab.