A call to action is a specific instruction or prompt given to the prospects with the intention of encouraging immediate action.
Here is the step-by-step guide to configuring a default Call to Action (CTA) setting.
Note: This documentation is for the default call to action (CTA) settings for any Wheel of Life assessment you create on your CoachPodium profile. You can also configure custom settings for different Wheel of Life assessments, if you want different CTAs for different assessments.
- Login to your CoachPodium account.
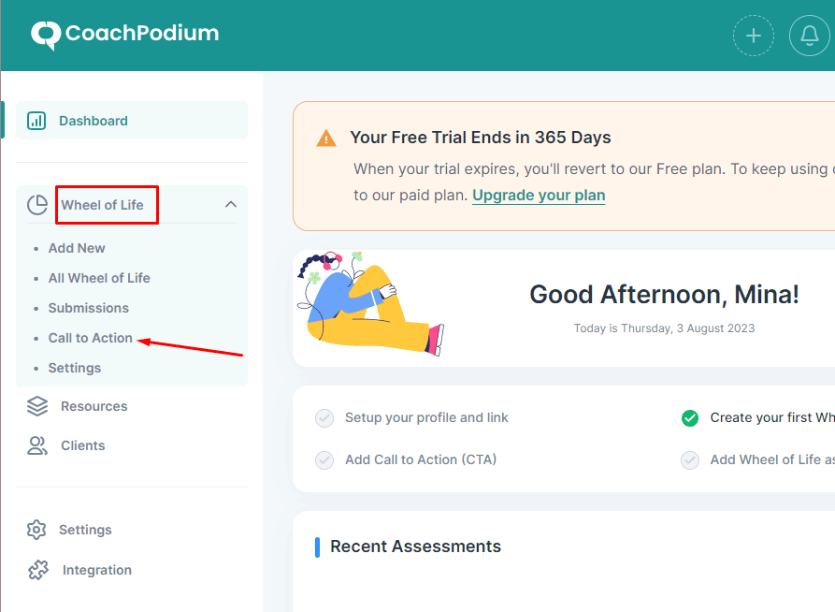
- Go to the Wheel of Life menu on the left side of the dashboard and click on Call to Action.

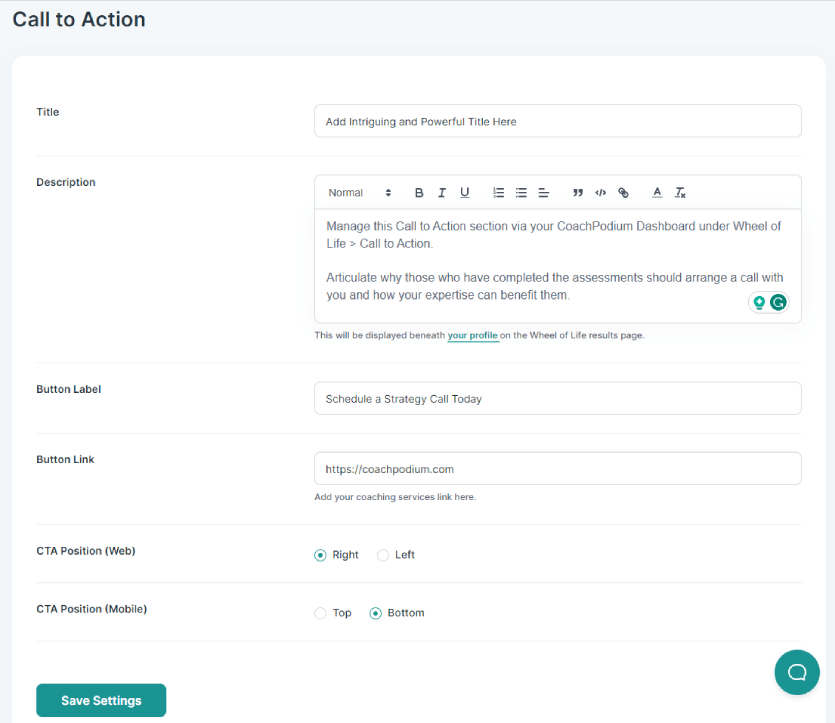
Now, to configure the Default setting, enter the following information:

Title: Write a short and descriptive title for your CTA.
Description: Write a brief description of what your CTA offers.
Button Label: In this field, enter the text that you want to appear on the CTA button, for example, Contact Us Today.
Button Link: Add the URL of the page that you want users to be redirected to when they click the button.
CTA Position (Web): This option is for the placement of CTA for desktops.
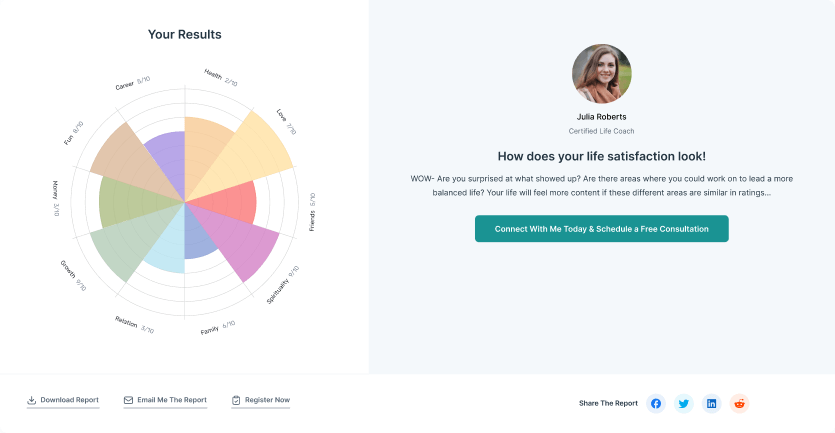
- Right: If you want your CTA to appear on the right side of your Wheel of Life assessment page, choose this option.
- Left: If you want your CTA to appear on the left side of your Wheel of Life assessment page, choose this option.
CTA Position (Mobile): This option is for the placement of CTA for mobiles or tablets.
- Top: If you want your CTA to appear on top of your Wheel of Life assessment page, choose this option.
- Bottom: If you want your CTA to appear on the bottom of your Wheel of Life assessment page, choose this option.
After you have made all the changes, click Save Settings.
Now, if you want to see the preview of the changes you made, you can click your profile under the description box. You can edit the settings if something does not suit your expectation.

Now, you have finally configured the Call to Action settings for your Wheel of Life Assessment page.
